top of page
SDGM 560 - SCAD x The Mill Collaboration
Week 1
After our first meeting, our teams were put together, and we began pitching ideas. My team, consisting of compositor T'Naige Wallace, look development artist Amanda Skeith, FX artist Elyse Resseguie, and myself came up with 4 preliminary ideas:
Idea 1
Idea 2
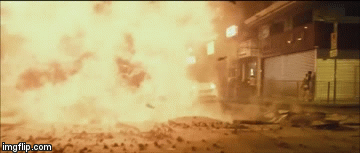
A speeding car narrowly escapes being swallowed up by the city street collapsing around it.
An unidentified flying object appears over a quiet midwestern farmhouse, pulling it into it’s beam and destroying it in the process.


*Mood boards by Amanda Skeith*
Idea 3
Idea 4
A car desperately fights against being pulled into a black hole.
A portal spits out pieces of a vehicle, that all form together to create a car.


After review with the professors we felt that Idea 1 was the best mix of lighting, look development, and effects that can all be achievable in the 9 week timeframe. We also challenged to put the idea in a new setting. So we took the idea further and came to the consensus that the new environment would closely resemble the volcanic landscapes found in Iceland.

We then began gathering more references for the effects, assets, and environment while beginning work on our first previz. We also recruited a 5th teammate, Rachel Marren, outside of class to help us with sound design for the spot. We decided to turn the spot into a commercial for Ford. We felt that Ford's slogan, "Built for the road ahead" provided good motivation for the effect. After almost a week, we concluded by putting together a presentation that we could pitch to The Mill mentors:
We received very helpful feedback from the mentors. They felt the last shot left the viewer a little uncertain, with possibly some negative emotions. We plan to remove that shot altogether, and work with the second and third shot to leave the viewer feeling more hopeful and certain. Moving into week two, we are beginning look development on our materials and starting RND for the effects.
Week 2
A good majority of the first half of week 2 was spent tweaking our previz. The final shot was completely removed, and the 3rd shot was reworked to make the video have a more optimistic ending. We received a helpful reminder as well of the 180 degree rule in cinemetography. The second shot was not giving the viewer enough time to process the 180 degree flip in camera angle, so the second to third jump cut felt very off. It was reworked more and finally we had a previz we were happy with.
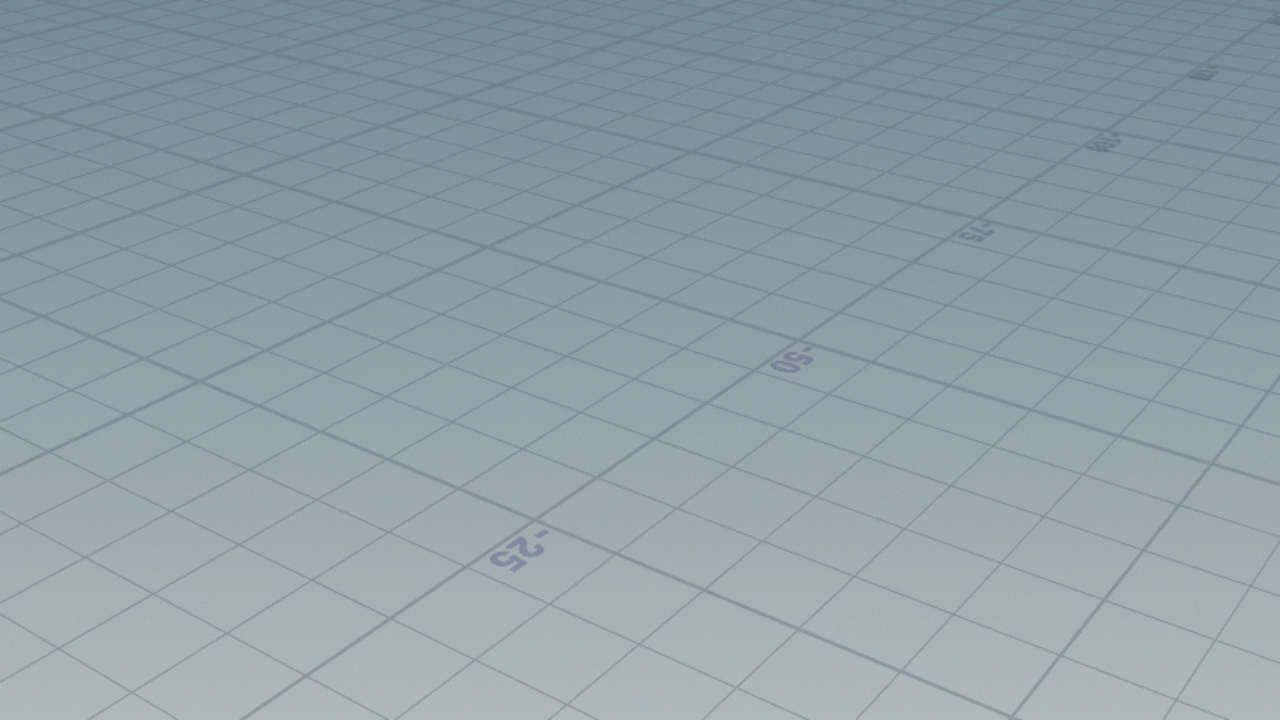
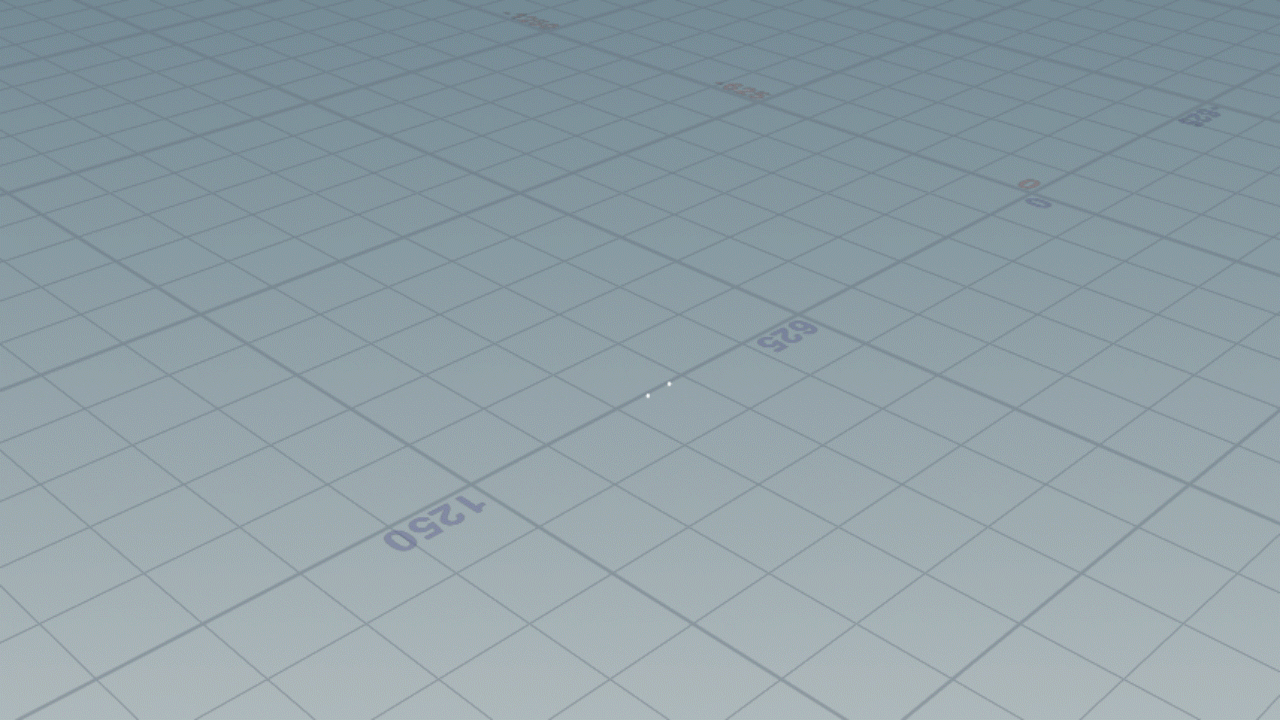
I then got started on the environment. We knew we needed a large mountain in the background of our first shot. I used Houdini's heightfields to craft a preliminary model of the large mountain. I began by using a bind node to mask out the edges of the heightfield. I wanted the edges of the mountain to be completely flat in case I needed to blend the mountain into the terrain it would make an easier time transitioning.


I then used a heightfield noise to start creating the first pass of the mountain. I wanted to get a general shape of the mountain first. I then used a second heightfield noise to create more detail in the mountain shapes. The heightfield erode node was a node that I recently got introduced to. It was a very cool node that simulated natural erosion on a heightfield. By using the precipitation settings, I was able to create very natural looking "veins" running down the faces of the mountain which really helped with the realism and scale of the mountain.


I also used a mask by feature node to mask a few of the steeper areas of the mountain. I wanted to add a little bit more noise to the steep areas because I felt they were almost a little too smooth. After I was happy with the mountain, I used the same strategy to create the environment. I wanted a smooth area in the middle of the environment for the road, so I used the bound node this time to mask out the middle of the environment to lay my road. I also wanted to create a hill at the end of the road where the car could be seen coming over it. I will explain that process a little bit later.

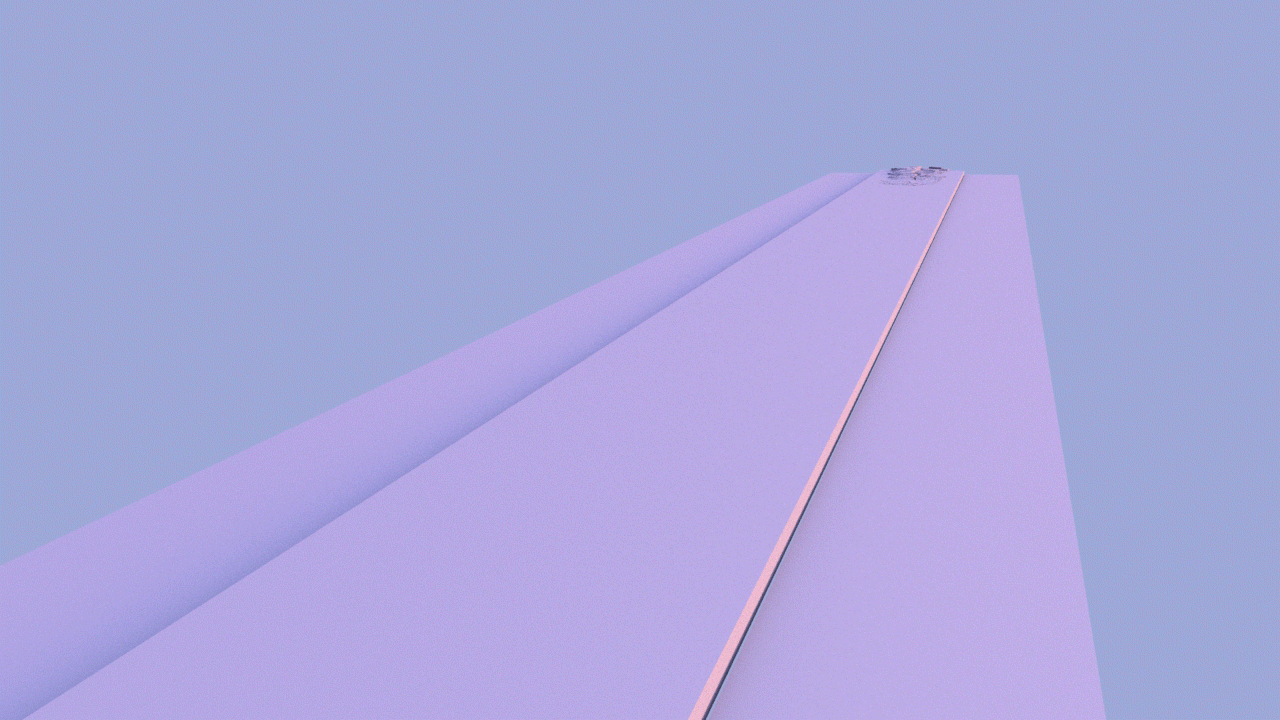
For creating the road, I started by using an add node to create four points to create the four corners of the road. I needed more points so I could create the wavy edges, so I resampled the lines by a small distance, resulting in hundreds of more points. From there, I used a point jitter just in the X and Y directions so that there was a randomness to the motion of the edges of the road. Roads do not always have very clean edges, and we did not want a very square, rigid road.


From there it was just a matter of remeshing the road to create the surface, and extruding it to give it some thickness. You can see the reference I was using below. I needed a way to blend the road into the distance. The reference I found used a hill to hide what is behind the road. I wanted to recreate this effect, so I decided to bend the road and environment with a bend node. By using the bend node, I bent the first part of the road down by about 10 degrees over the span of around 100 meters, then bent it back up by 10 degrees over the span of around 300 meters. This created a sort of gradual hill over the span of 400 meters of the road. I felt that it was gradual enough to not be distracting, but steep enough to hide what is behind the hill. We are still unsure of the effect being, well, effective but we will continue working on it in the future.

.png)


Week 3
During week 3 I worked on finalizing the environment. I needed the environment to work for all 3 shots, so it needed to look good for the whole 360 degrees. I first started by trying to scatter grass assets from Quixel throughout the entire environment. The first shot is a very wide shot, so I needed a lot of grass in order for it to hold up. The amount of grass needed became way to large to be transferable to Maya, where it would need to be shaded. That idea would not hold up, so another strategy needed to work. I then met with Amanda, and together we came to the conclusion that the environment would be a mixture of shaders to create a rocky, and grassy terrain. We would only need a few assets in the foreground to sell the idea of the grass throughout the scene.
From there I worked on creating the maps that would be used to mix the shaders in Maya. I used a mask by feature node and set it to mask by height. By tweaking the ramp, I was able to select the lowest area of the terrain, where the road would sit. I knew I wanted a gravel texture for the sides of the road so I masked that area. I then shrunk it a bit smaller and blured it so it would blend into the terrain a bit better. I wasn't sure of which channel of the map Maya would need so I decided to save the masked area to all channels of the png map. I then used the same workflow for the terrain itself. I used another mask by feature and set the height ramp to mask more of the mid ground area. So the mid height of the terrain would be grass, and the higher peaks of the terrain would be rocky.


I then created the system for scattering the dead grass assets on the sides of the road. I started by creating two grids on the sides of the road and scattering points across them. I used a point jitter to give more "randomness" to the point locations. I also created an attribute called "rand" that would assign every point a random integer between 0 and 3. That way, I could feed my 4 grass assets into a switch node and depending on what the rand value of the point was, it would be assigned that grass asset.


Week 4
A good portion of week 4 was spent trouble shooting our pipeline from Houdini to Maya. Houdini deals very well with large poly counts, Maya not so much. We have very high poly cars and environment pieces, so they needed to be dealt with. Maya however needs a good amount of poly's in order to create fine displacement like rock or gravel. We have rock pretty close to the camera in shot 1. So we needed a way to get good detail from the area close to the camera, but keep the rest of the environment low poly.
I simply grouped the area close to the camera with a bounding box. The reason why I used a bounding box rather than just simply selecting the area I wanted, was that if I changed the geometry of the environment at all the area would be affected and the group would change. The bounding box was dynamic and would regroup the same area if I did indeed change the environment, which I had to do a lot. This way, once the geo was exporting, it carried with it that group information. The look dev team was then able to apply displacement in Maya only to that group.


This week I was also able to put together another motion test for shot 3. Some frames failed on the farm unfortunately, so there is a bit of stuttering in the video, but it still gives a good idea of the motion of the environment and road. It revealed a lot of issues that need addressing which is good. Finding problems early is a good thing. We learned that the road texture needs work. The lines on the side draw attention way too much and against the dark environment, pop way too much. There is also simply not enough texture on the road. Looking at references, there is usually more wear, changes in color, and changes in the line weight.

Week 5
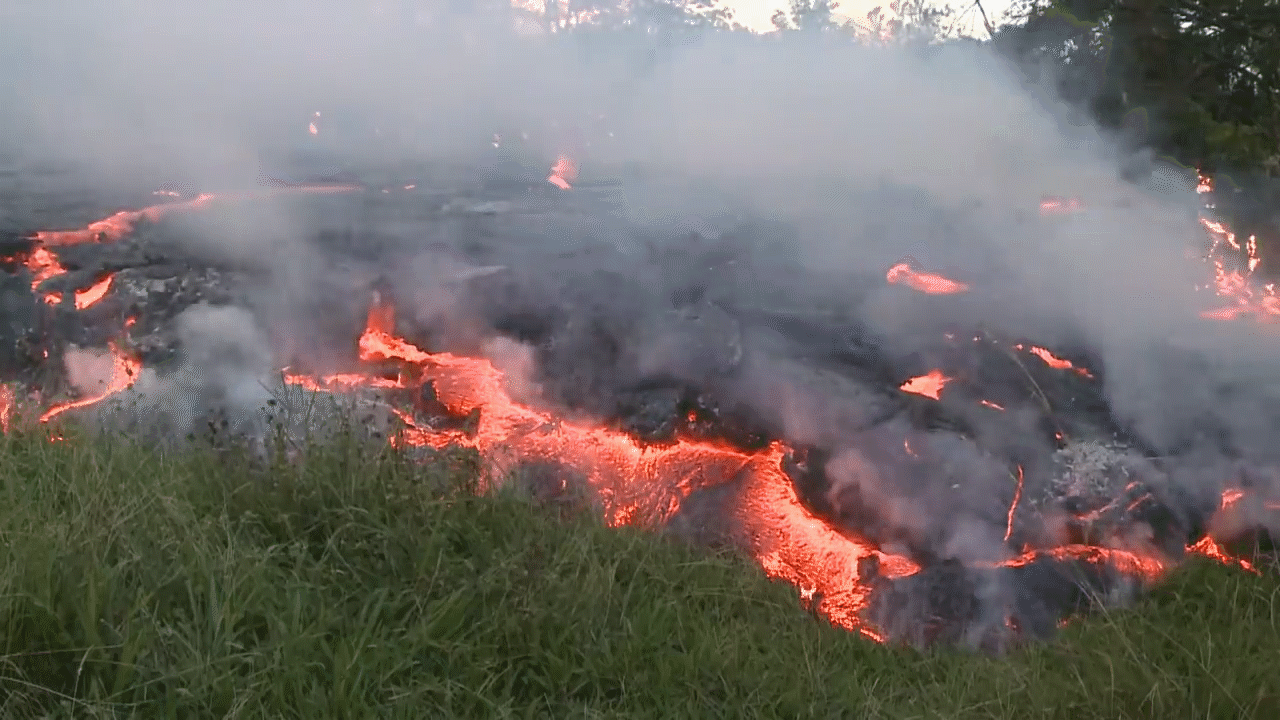
This week I began work on the pyro effect for the road. I struggled in the beginning debating a few different strategies to use. In the end, I settled on using a sphere to emit points then sourcing them for my pyro. I started by tracking a sphere to the front of the L-System. This ensured that the smoke would always be emitting from the front of the crack.

**To quickly walk through the reason for the expression, I am referencing the point inside the crack effect that drives the actual breaking of the road. The crack grows every frame, generates two new points every frame, and started with 16 points already generated, which is where I get the math from.**
I also added some rotation to the sphere so I could generate velocity from it and throw some points in different directions. I did the same with the scale so points would be thrown upward. I added a mountain node to give the sphere some interest so the smoke wouldn't be so uniform, and had it randomly generate a new height every frame, to again, break up uniformity. Like I mentioned before, I added a trail note to compute the velocity from all of the different rotations and scaling so I can throw some points in different directions and give the smoke some energy. I scaled it down after doing some experimentations.


After I scatted some points to the mountained sphere, I fed them into a popnet. The setup of the popnet is pretty simple, only added drag, gravity, and a little bit of popforce to give some swirl and turbulence to the points. Below you can see the result of the popnet. Another note is I made sure the points only live for roughly 3 - 7 frames. The reason for this I explain in the next step.


It is apparent that I need to cover a lot of ground very quickly for this effect. I wanted to keep the amount of points I generated small so the amount of smoke I generate is kept small. I wanted quick puffs of smoke that linger, rather than a continuous plume of smoke. I also had trouble getting the simulation to not crash my computer at first. I realized that the sparse pyro shelf tool defaults your particle separation to .1, which in turn, makes your voxel size much smaller and increases your computations exponentially. I turned up my particle separation, and generated less voxels to make my sim runable. I learned that keeping my voxel count below 500,000 was a good area to stay. The max amount I was getting for this sim was roughly 460,000.


After this, I used my newly created pyro source and ran my simulation. Again I kept the simulation simple to start. I only changed dissipation, disturbance, and turbulence. I wanted the smoke to linger for a bit, without again creating too much smoke, and give it some noise just to break up the shapes. The result of the first simulation can be seen below. Overall I am happy with how it is coming along, but I still have a long way to go. I feel that the smoke is too high, too dense, and doesn't linger long enough. I am aiming to change my particle sim to reduce the amount of Y velocity being generated, decrease dissipation further, and reduce the density of the smoke all together.


Week 6
This week I went back to trying to add in some foliage to break up the terrain. One area I specifically did not like was the area where the road met the terrain. It read as very unrealistic and was distracting. A team member was nice enough to actually go out and take some references for the type of foliage we were going for:


*Photos by T'Naige Wallace*
I decided to go with clovers with Quixel to get a good amount of ground coverage, and a Common Everlasting flower for some variation and height. I scattered points very close to the side of the road and used the same technique that can be found in week 3 to assign geometry at random to those points. Using the clovers really helped create a thick coat of foliage on the ground, and I was finally happy with the way it was looking.

We took some of the advice given during critique to create a second camera shake in the first shot. It made sense that if the camera were to feel the force of a car driving past, it would definitely feel the force of a road cracking and popping from natural forces.
Here is the update to the pyro effect from last time. Since last iteration, I decreased the dissipation value to let the smoke linger longer in the scene, but I still feel that it needs to be lower. I also received critique that there wasn't enough variation in the size and shape of my dust puffs , which I definitely agree is a problem that I need to address. I also want to match my reference closer, so I feel that the height and motion of my pyro needs to be addressed as well.
Week 7
Here are a few methods I have tried out for the pyro simulation:
Method 1:
My first strategy was to parent an animated "explosion" to the front of the crack. This was the strategy I had been using for the few weeks prior when the cracking effect was more linear (see Week 5 for a more in depth look at this method). I calculated velocity of the moving object and generated points based on that. Since the crack is moving quickly, the trail node generated way too much velocity in the Z direction, so I deleted all of the points being thrown in the Z direction. The overall motion was not matching the effect well.


Method 2:
My next strategy was to simply calculate velocity on the entire road itself and spawn points from the geometry if the velocity reached a certain threshold. This was closer to what I wanted, but the animated effect was giving me unexpected numbers, resulting in a pulsing effect that was constantly generating points.


Method 3:
My third method was to try to use the debris source node to generate the points that I could source my popnet from. I was finding the same sort of problem in method 2, getting a pulsing effect from the points and when put into a popnet, throw points in the Z direction incredibly fast.
I finally decided that computing velocity on animated pieces was not going to give me the results I was looking for. I knew since a very hot, fiery lava was creating this effect, then there much be some billowy smoke brewing underneath the surface. When the road cracked and opened, the smoke could plume out. I created a much simpler setup. Starting with a tube, I animated it to travel underneath the road and emit particles. I used the road as a collider object so that they could build underneath and when the crack effect happened the particles could spew upwards. This resulted in a much better effect that I was finally happy with.


Week 8
The pyro needed to be reworked again. The colliders needed for accuracy were simply taking too long to simulate, and resulting in very large cache files. Going back and looking at references of lava, the smoke was a lot wispier than I previously thought. When speaking with my group as well, we didn't want the smoke plumes to block a lot of the shots, especially in shot 1 where the camera is low to the ground. I started by creating a line that followed the movement of the crack. I settled on a wispier version of smoke with a lot higher turbulence and disturbance.
I also updated the foliage for shot 1. A critique we received was the edge of the foliage was too harsh and was too linear. I added some more jitter to the grid of points, adding more variety in the left right direction, breaking up that harsh line. I also created a second pass of foliage, much smaller and more scattered so create a bit of falloff between the gravel and edge of the road.

We also decided to move up to 1080p as we get ready to render our final images. We immediately were hit with problems, as our files were not rendering through the farm, they were almost all hitting the 2 hour render limit. It was a frustrating week, as we could not get a lot of our new work out, but after trouble shooting for a while, tweaking render settings, changing lights, downscaling textures, and lowering poly counts, I believe I have found the issue.

I previously was rendering with all of my extra image planes on. During the early stages of production, I asked what AOV's our compositor would need, and without thinking much of it, we decided I would give them all to him, that way he would have as much information as possible in the compositing stage. I had no idea these were basically tripling our render times. During a render test on the foliage for shot 1, when all AOV's were turned off I could render the image in 1080p on my local machine in 7 minutes 16 seconds. The same image with all AOV's turned on resulted in a 22 minute 42 seconds render. We are excited knowing this heading into next week, as we are confident this will greatly decrease our render times.
Here is the updated comp from week 8!
Week 9
A critique we received last week was that the pyro effect looked too clean. We wanted to dirty it up with some general dust across the whole effect. I figured I would not have enough time to run a simulation, so I created a box to rise through the road after the effect goes past that will serve as my dust. I added some noise to it to make the shape a little more interesting, and then converted it to a volume.


I then used vops to break up the density of the volume. I am using a constant to multiply the resulting density, acting as an overall control for how thick the dust is.


I only made a small section of dust to try the method out on. I also used small sections because I needed the dust to appear through the road, and didn't want one giant section to appear at once, I wanted the small sections to appear one by one to match the motion of the effect. I created a loop that moves them down the road, and timeshifted the animation by a few frames to match the animation of the effect. Below is a viewport render of the dust effect. Due to time constraints and render farm issues, it was unable to be rendered in time to make the final edit. I still plan on doing a dust layer for my reel.

bottom of page